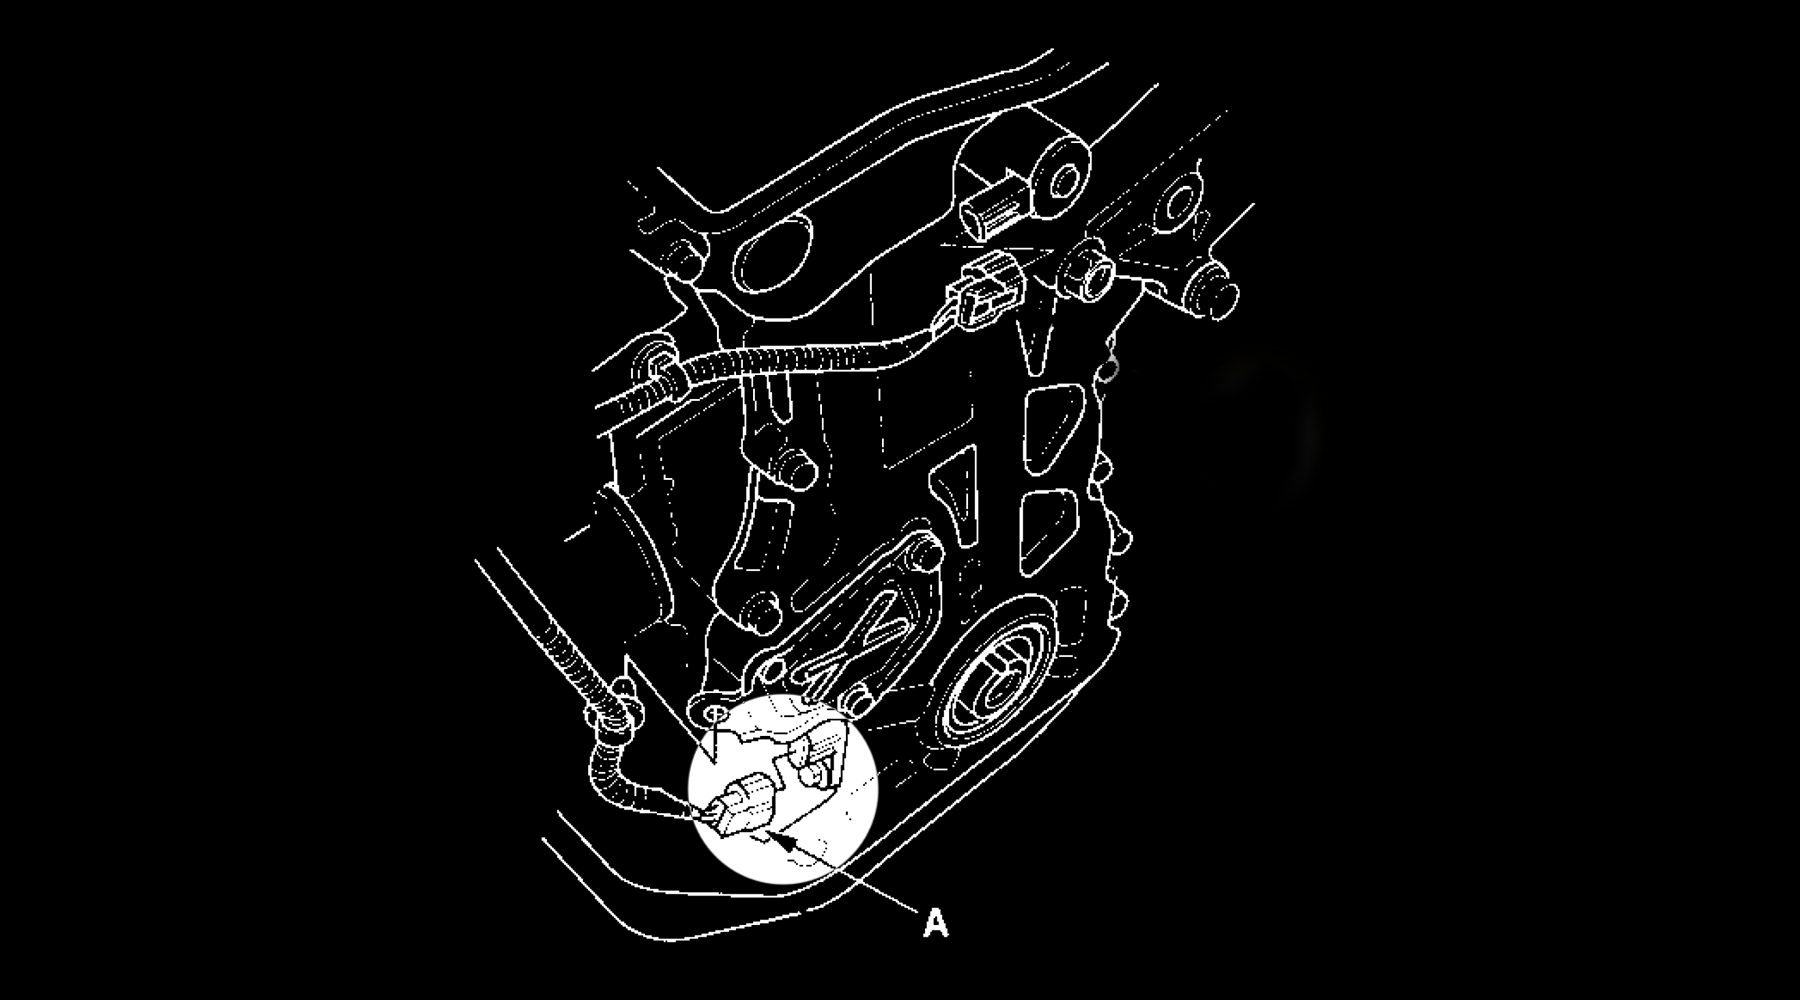
Wiring Guide: K20 to K24 Crank Sensor Wiring
Alright, let's talk crank sensor wiring and engine swaps. This guide will focus on the details of wiring a new crank position sensor connector for your K24 or K20 correctly.
We will also go over various engine codes, connectors, sensor part numbers, and a brief overview of what the CKP sensor does. Skip down to the bottom if you want the steps to wire in the connector. Let's get started!
Two Different CKP Sensors: What is the difference between the K20 crank sensor and the K24 crank sensor?
You've successfully swapped your engine with a K20 or K24, and suddenly, you're hit with a crank position sensor code. Honda has two different manufacturers for crank position sensors, and the connectors are not interchangeable. We'll show you exactly what the issue is, and we will help you fix your wiring without spending money on a new sensor.
The Significance of Proper Crank Position Sensor Wiring: What type of crank sensor does the K series have?
The crank position sensor plays a vital role in engine performance by monitoring the position and rotational speed of the crankshaft. It relays this information to the engine control unit (ECU), allowing for precise engine timing.
However, incorrect wiring during an engine swap can lead to various issues, including starting problems, misfires, and poor engine performance. Faulty wiring of the crank position sensors can cause potential issues. These issues can trigger different error codes, which indicate crank position sensor problems. These codes include:
- P0335: Crankshaft Position Sensor "A" Circuit Malfunction
- P0336: Crankshaft Position Sensor "A" Circuit Range/Performance
- P0337: Crankshaft Position Sensor "A" Circuit Low Input
- P0338: Crankshaft Position Sensor "A" Circuit High Input
- P0339: Crankshaft Position Sensor "A" Circuit Intermittent
OEM Honda K-Series Crank Sensor Part Numbers:
Accord, Element, and TSX with 2.4 engines from 2003-2011 use OEM Honda or OEM Acupa part number: 37500-RAA-A01
CRV, Civic, and RSX from 2002-2011 use part number: 37500-PNB-003
This list is not complete, but it provides a general overview of the common engine years and crank sensor part numbers. Please drop a message below, and we can help you.
Just remember your engine harness wires need to match up with the pins for that sensor.
The Connector Differences:
Now, let's get to the wiring. You will need to use a K20a2 engine harness with a K24a motor. To do so, you must attach the K24a connector to the K20a2 harness.
The K20 and K24 sensors have slightly different keyways to guide the connector onto the sensor. And even though they use the same three wires, they are pinned into different locations. Luckily, we've got an image to help you visualize the differences.

K24 Style Sumitomo Connector Part Number is 6189-0968 show below, and this slides right onto OEM Honda CKP Sensor: 37500-RAA-A01

K20 Style Sumitomo Connector Part Number is 6189-0887 shown below, and this slides right onto OEM Honda CKP Sensor: 37500-PNB-003

The lock for both connectors is the same and is Part Number: 6918-1833
You have two options when it comes to the sensor: Get a sensor that matches up with your engine harness or replace it. In the next step, we will review the most common connector swap and the wiring you need.
Steps to Rewire the Crank Position Sensor Plug:
When doing an engine swap with a K24 engine from a 2002-2011 Honda or Acura into an older model chassis along with the more commonly used K20a2 RSX style engine harness, you'll need to replace the crank position sensor connector with one from the K24 engine harness and re-pin it. Now, let's get down to business with the rewiring process. Just follow these steps to correct your K24 crank sensor wiring.
- Locate your two CPS (fancy acronym for crank position sensors) connectors. Take a quick picture of each connector and note the wire colors.
- Remove the K24 connector from the K24 engine harness. To do so, you must remove the lock inside the connector that secures the pins. Grab a small pick tool and gently pull it. Once it's out, you can lift the pin and pull it out from the back of the connector.
- Do the same for the K20 connector.
- Alright, let's wire that K24 connector onto your K20 engine harness. Remember to read the connector from the back with the clip that releases the connector facing up. You should have 3 pin locations.
- The Blue wire from the K20 connector Pin 1 goes into Pin 2 on the K24 connector.
- The Brown/Yellow wire from the K20 connector Pin 2 goes into Pin 3 on the K24 connector.
- The Yellow/Black wire from the K20 connector in Pin 3 goes into Pin 1 on the K24 connector.
- Make sure those wires are securely reinserted into the new connector and reinsert the lock.
- Once done, you can connect it to your K24 motor, and you're ready to rock! It should look like this once you are finished.

Your newly wired K24 Connector should look like this:

Using a K24 harness on a K20 engine is not very common. Swap out the K24 connector for the K20. Wire it up, as shown in the image below.

You should now know how to wire the correct CKP connector onto your engine harness during an engine swap. Ensure your engine performs optimally by following our rewiring steps and using the right parts. This will help you to eliminate any error codes.
Still need some wiring parts for your swap, you can head over to our store to find what you need HERE.
Do you need help understanding any part of your swap? If so, contact us HERE. We will be happy to assist you in resolving the issue. Enjoy your engine swap!

